How to Whiten Teeth at Home Safely: The Complete 2026 Guide
A brighter smile is one of the most common requests we hear at the dental clinic, and it’s no surprise a whiter smile is consistently linked to higher confidence in social and professional settings. But with so many products on the market, patients constantly ask us the same question: how do you whiten teeth at home without damaging your enamel or irritating your gums?
This guide walks you through exactly how to brighten your smile the right way, which products are worth your money, which habits sabotage your results, and when it’s time to see a dentist instead of reaching for another kit. Whether you’re prepping for a big event or just want a fresher everyday smile, this is your complete, dentist-informed roadmap.
Quick Guide: Whiten Teeth at Home in 5 Steps
Start with a clean baseline: brush and floss thoroughly (or use a water flosser) for a few days before starting any whitening product so it can work on truly clean enamel.
Choose the right product for your sensitivity level: whitening strips for convenience, LED kits for faster results, or a whitening toothpaste for gradual, low-commitment brightening.
Follow the timing exactly; over-applying whitening gel or leaving strips on longer than directed is the #1 cause of sensitivity and gum irritation.
Maintain results with an electric toothbrush. Consistent, thorough brushing prevents new surface stains from forming as quickly.
Rinse and protect: An alcohol-free mouthwash helps remove residual staining compounds like coffee, tea, and wine between whitening sessions.
Why People Choose At-Home Whitening
Professional in-office whitening is effective, but it’s also expensive and time-consuming for many people. That’s why so many patients choose at-home whitening instead; it’s more affordable, fits into a normal routine, and modern products have closed much of the gap with in-office treatments. The tradeoff is that at-home whitening requires more discipline and a better understanding of what’s actually safe for your enamel.
What Causes Teeth to Stain in the First Place
Before whitening, it helps to understand what you’re fighting. Tooth discoloration generally falls into two categories:
Extrinsic Stains
These sit on the surface of the enamel and come from everyday habits: coffee, tea, red wine, tobacco, and pigmented foods like berries or tomato sauce. Extrinsic stains respond well to whitening strips, whitening toothpaste, and professional cleanings.
Intrinsic Stains
These occur inside the tooth structure, often from aging, certain medications (like tetracycline), excess fluoride exposure in childhood, or trauma to a tooth. Intrinsic stains are harder to treat with over-the-counter products and may require professional bonding or veneers. This is a case where you should talk to a dentist rather than relying on at-home kits alone.
The Safest At-Home Whitening Methods
- Whitening Strips
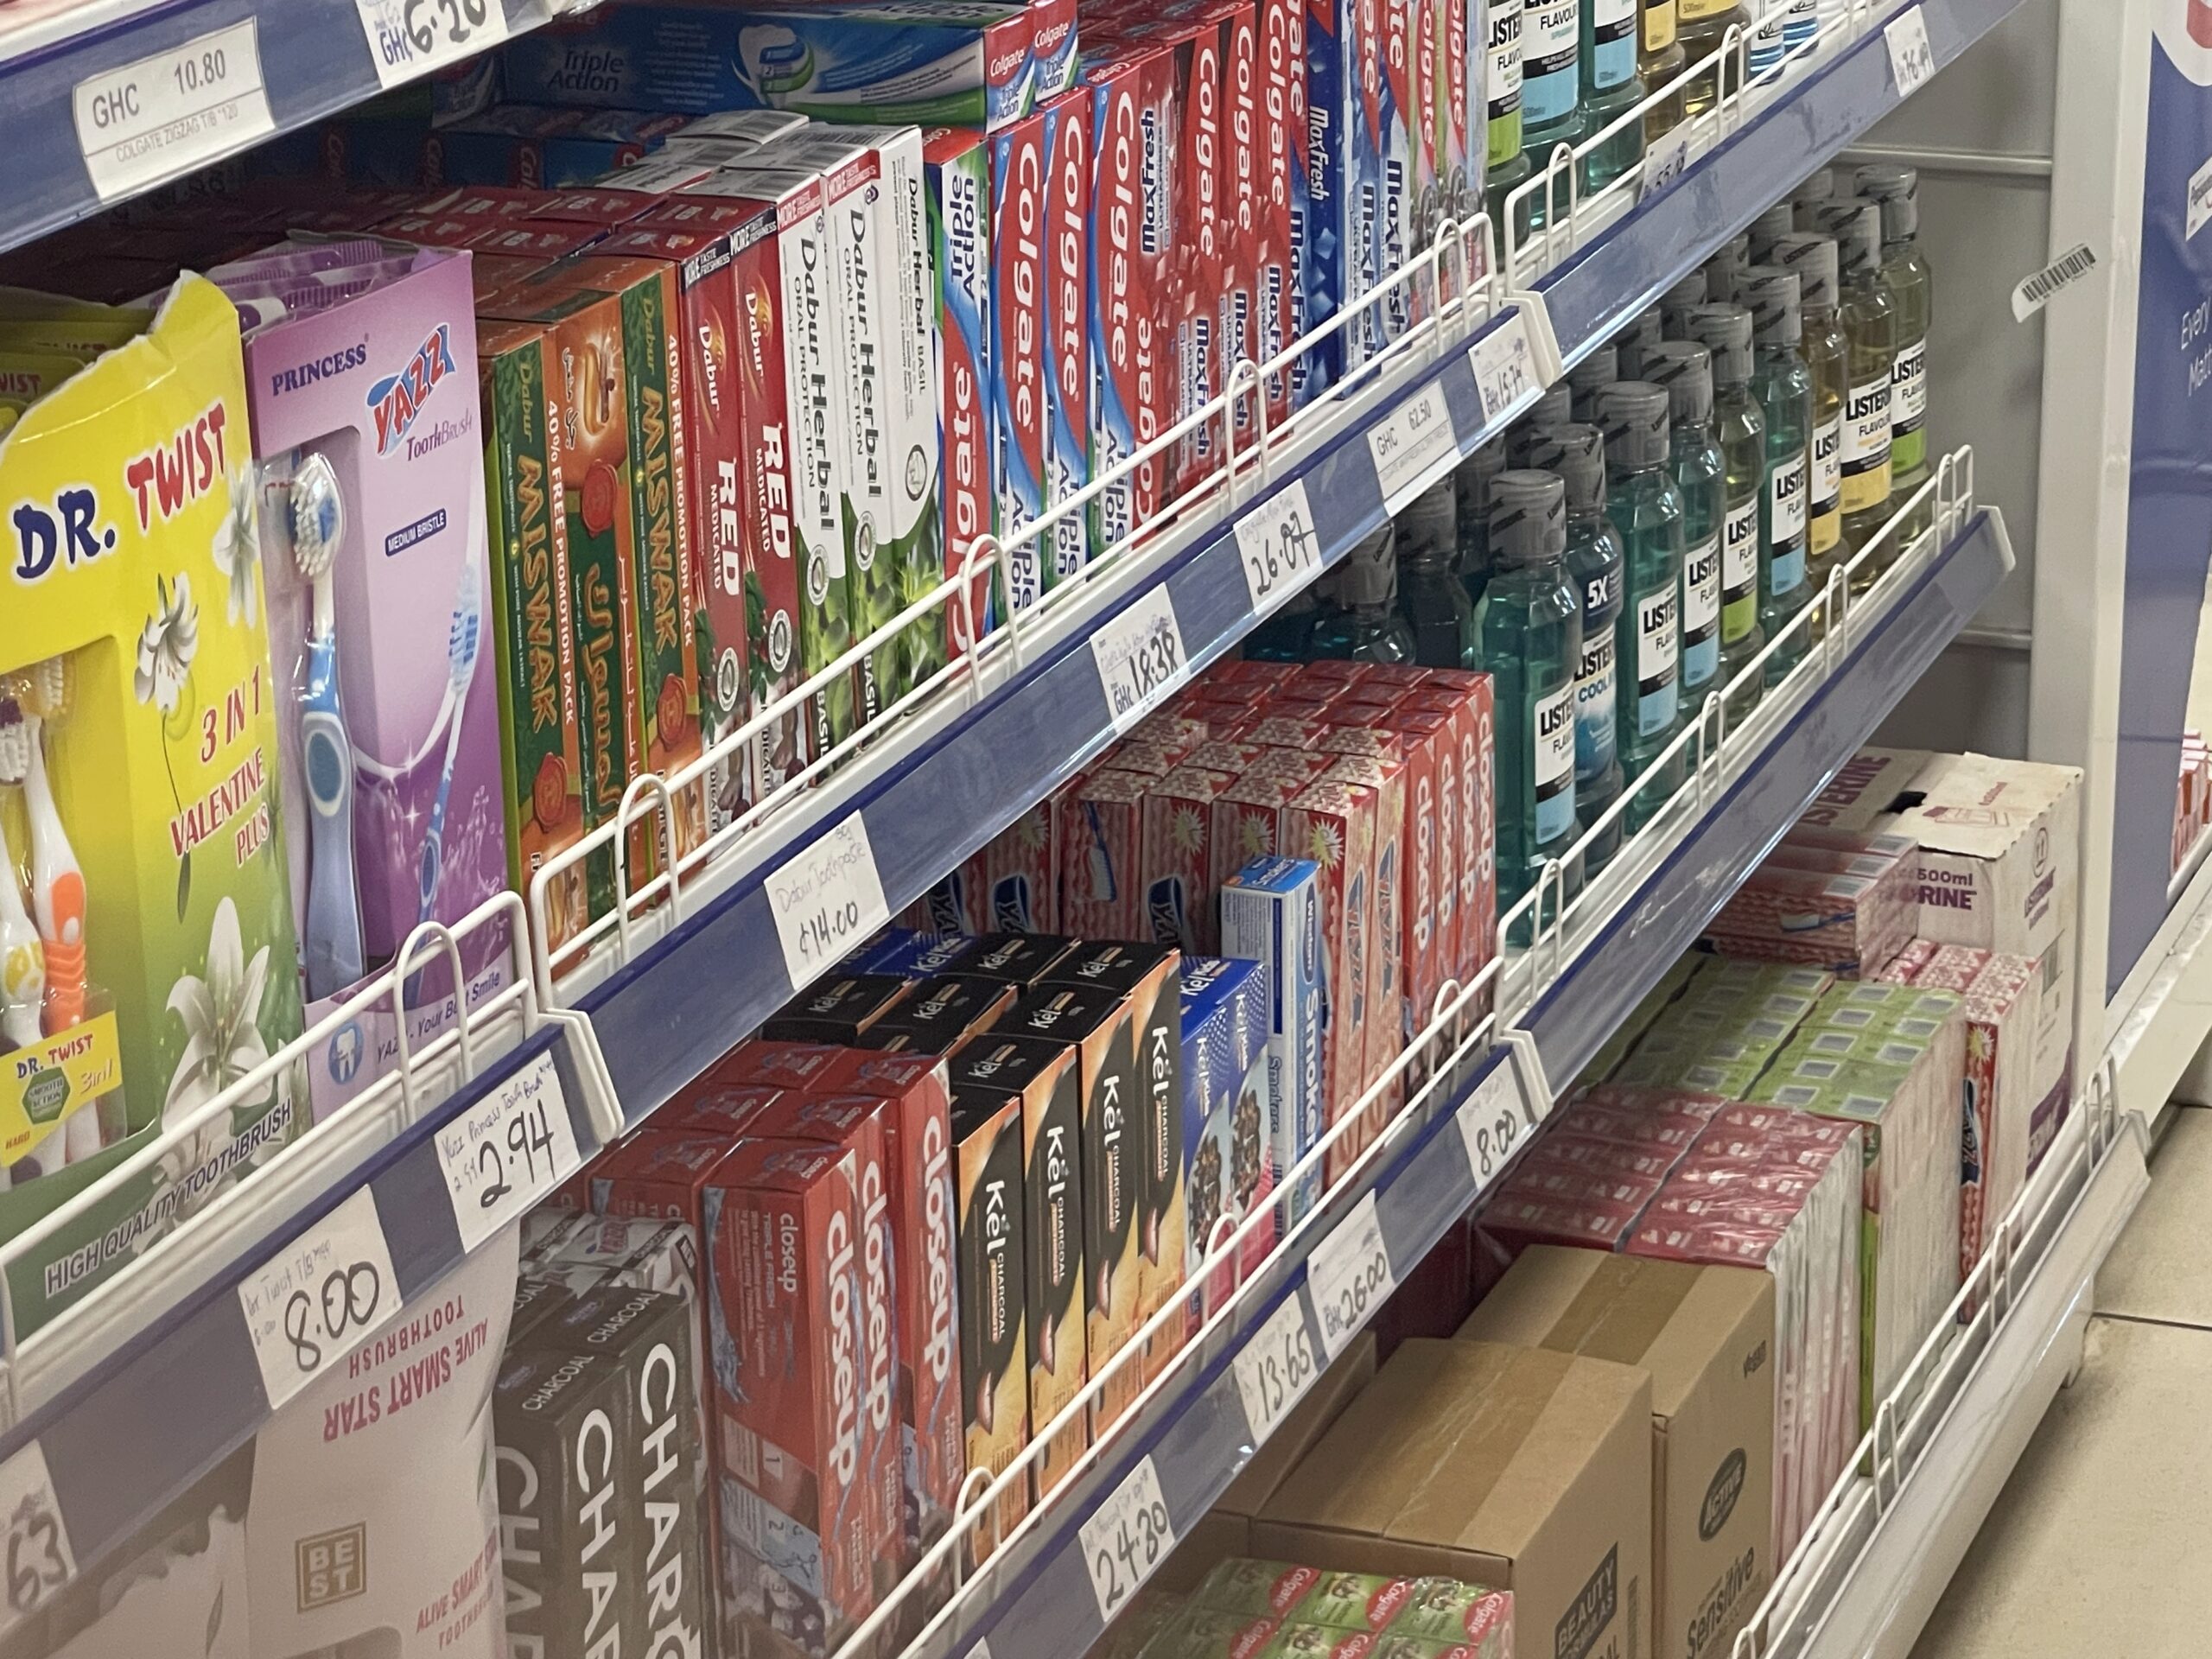
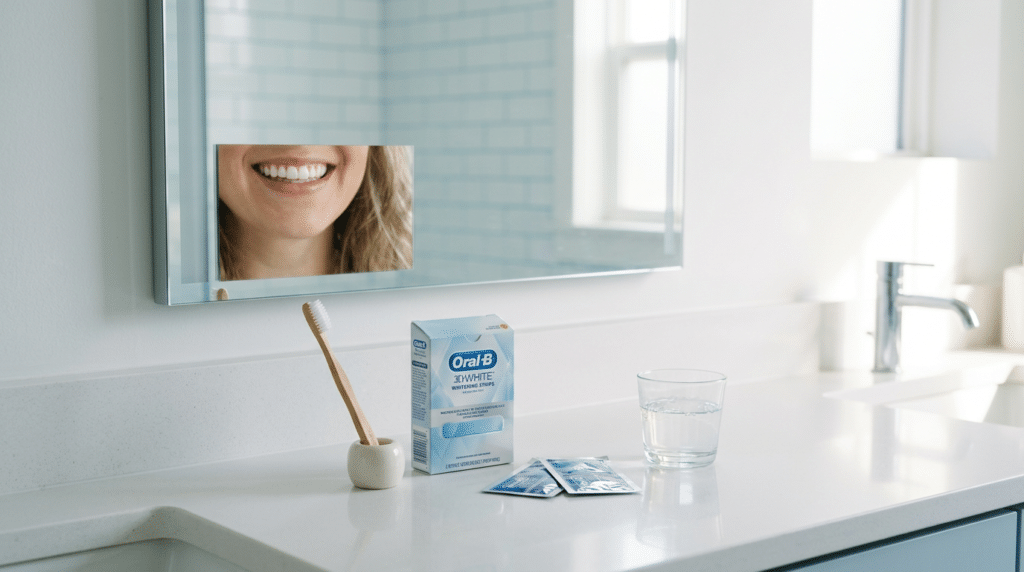
Whitening strips remain one of the most popular ways to whiten teeth at home because they’re inexpensive, easy to use, and require no custom trays. Look for strips with hydrogen peroxide or carbamide peroxide in the 6-14% range, which is generally considered safe for regular at-home use when directions are followed.
- LED Whitening Kits
LED kits pair a peroxide gel with a light source that’s marketed to accelerate the whitening reaction. The evidence on how much the light itself adds is mixed, but the gel formulations in these kits are often stronger, which can mean faster visible results and a higher chance of sensitivity if overused.
- Whitening Toothpaste and Mouthwash
These are the gentlest options, relying on mild abrasives or low-concentration peroxide to polish away surface stains gradually over several weeks. They won’t dramatically change your shade, but they’re an excellent low-risk way to maintain results after a more intensive whitening treatment. Crest 3D White Luxe Whitening Mouthwash is one product that I recommend
How Long Results Actually Last
Most at-home whitening results last anywhere from six months to two years, depending on your diet and oral hygiene habits. Cutting back on staining beverages, avoiding tobacco, and maintaining a consistent brushing routine will extend your results considerably.
Support Your Whitening Routine With the Right Tools
Whitening isn’t just about the product you apply; it’s about the daily habits around it. An electric toothbrush such as the Oral-B iO Series toothbrush removes plaque and surface buildup far more consistently than manual brushing, which helps whitening results last longer and reduces the risk of new staining taking hold.
A water flosser such as the Waterpik Cordless Advanced Water Flosser is another smart addition, especially if you’re prone to staining along the gumline or between teeth where a toothbrush alone can’t reach.
Don’t Miss Our Next Guide
Want more tips like this delivered straight to your inbox? Subscribe to the Boateng Dental Newsletter for exclusive whitening deals, early access to new dental guides, and simple tips to keep your smile healthy between visits. [Subscribe here ->]
Common Mistakes That Damage Your Results
Overusing whitening strips or gel. More isn’t better: exceeding the recommended time or frequency increases sensitivity without meaningfully improving results.
Whitening over existing dental work. Crowns, veneers, and fillings don’t whiten, which can leave you with a mismatched smile. Talk to your dentist before starting if you have visible dental work.
Skipping the “white diet” after treatment. Enamel is temporarily more porous right after whitening, making it easier for coffee, wine, and dark sauces to re-stain within the first 24-48 hours.
Ignoring existing gum irritation or bleeding. Whitening chemicals can worsen irritated gum tissue, so any active gum problems should be addressed first.
Choosing a product because it’s cheap, not because it’s appropriate for your sensitivity level. If you already have sensitive teeth, start with a lower-concentration product.
When to See a Dentist Instead
At-home products are safe for most people, but you should check in with a dentist before or during a whitening routine if you have persistent tooth sensitivity, visible fillings or crowns in your smile zone, gum recession, signs of gum disease, or if you’ve tried an over-the-counter product with no improvement after several weeks. A quick consultation can save you money on products that were never going to work for your specific type of staining.
Frequently Asked Questions
Conclusion: Get a Brighter Smile Without the Guesswork
Learning how to whiten teeth at home safely comes down to choosing the right product for your sensitivity level, following instructions exactly, and supporting your results with consistent brushing and flossing habits. Done correctly, at-home whitening is a safe and affordable way to brighten your smile, no dental chair required.